Need a good place to hunt this season? Check out the public lands in your region. You’ll discover new areas that you didn’t know existed before. But you must know how to find a good hunting spot on public land.
For years I hunted with my neighbor on his uncle’s property. When he moved to another state, I lost the right to hunt those woods. So, I decided to explore some of the public lands in my state. These offer new hunting challenges and learning experiences.
Here is what I used to find a great hunting area.
- Google, DuckDuckGo.com, or some other web search program.
- Topographic maps of my area.
- A smartphone mapping app for surveying the area (try OnxMaps) (Don’t forget your charger).
- Hunting regulations for public lands in my state.
Do a Web Search
The first thing I did was open up the search engine and search in my preferred region using the search term “hunting public lands near Minneapolis”. I came up with a great list of public lands not only in Minnesota, but the surrounding states of Wisconsin, Iowa, and the Dakotas.
Other search strings that are helpful:
- Public hunting areas in (name of your state)
- WMA areas in (name of your state)
Decide on Your Range
I didn’t want to stay in a hotel overnight or pay for a non-resident license, so I choose several areas that are within a few hours’ drive from my home.
There are several different types of public lands including state, federal, county, and industrial forests. State lines are made up of Wildlife Management Areas (WMA), Walk-In Access (WIA) which allow you to hunt on private land that is enrolled in conservations programs, and state forests.
I decided to explore the WMAs in my county, and the Minnesota DNR had an easy-to-use web tool allowing me to list the species and county.
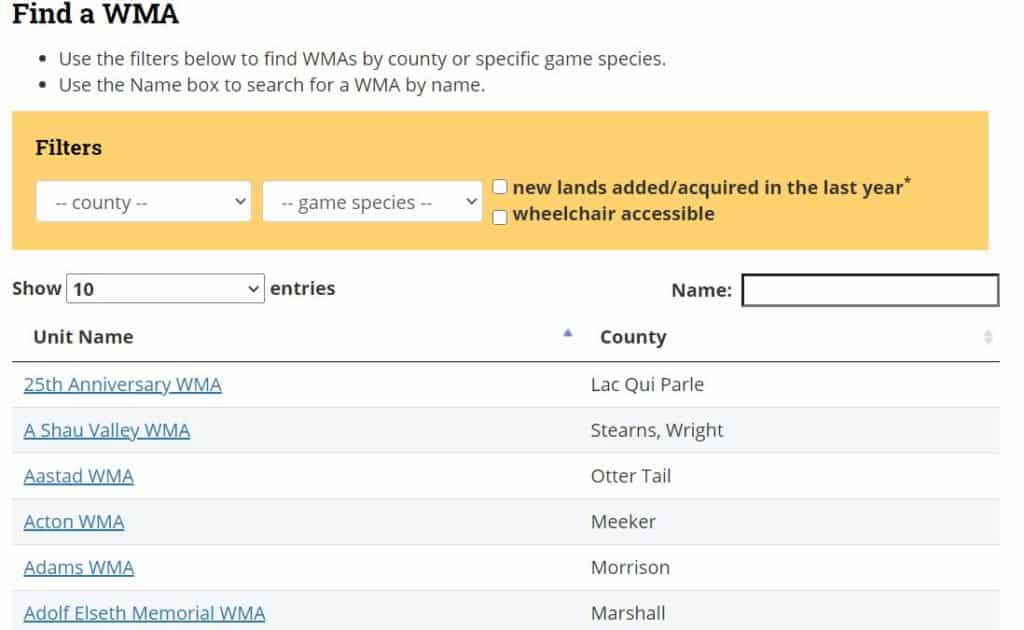
The result gave me 18 different WMAs in my county. There was also an informative user study that the DNR had sponsored, giving me more background from the hunters themselves.
Target Your Area
Once I had a list of places to hunt, I reviewed each one, jotting down notes to help me decide which ones I wanted to scout out first-hand.
Some of the questions I asked myself:
- How long will it take me to drive there? (If I want to be there before sunrise this fall, what time will I have to get up?)
- What type of game is reported?
- Does the area include topography that will help my success? (See my tips below)
- How many acres does the area cover?
Generally, bigger is better although smaller tracts with difficult access could be where you get your prize (if you are willing to climb a bluff to gain access to a prime overhead vantage point). If the public land is covered with hiking trails, forget it.
If available, find the recent stats with a web search showing the estimated populations and harvest numbers. Try a search for “Deer harvest in (your state). Here is what Minnesota DNR shows on their website:
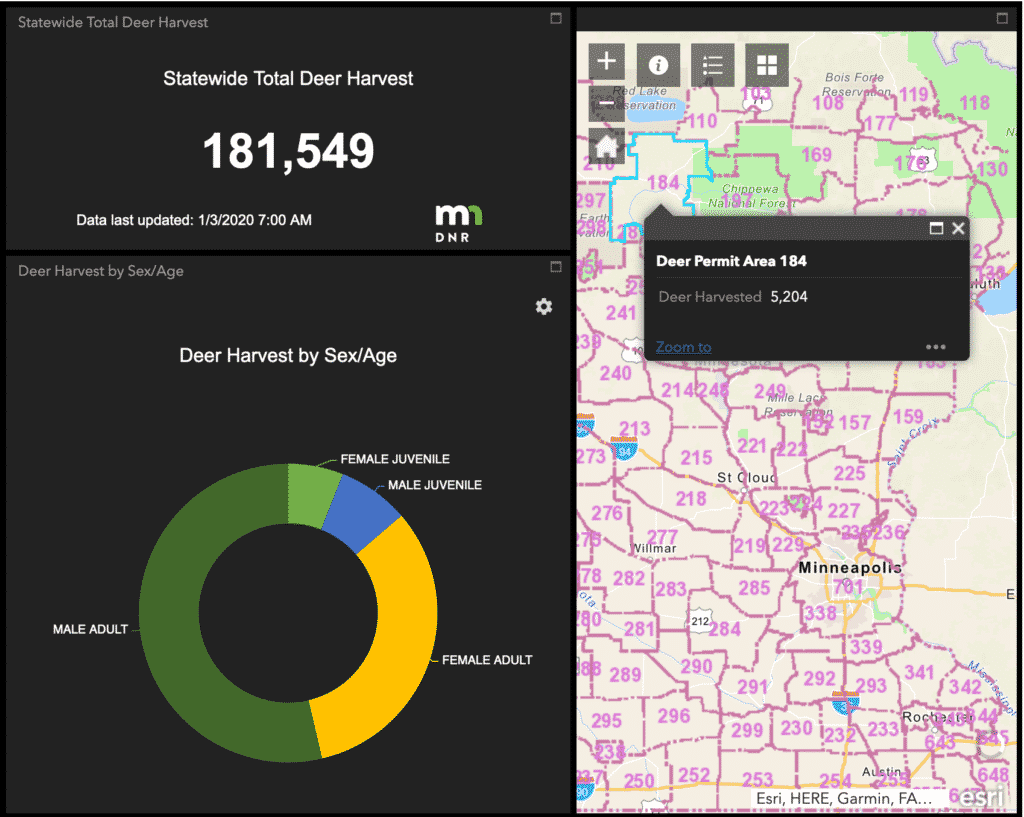
- Deer Population and Harvest Numbers. Image Source: Minnesota DNR
While I was on the site, I also downloaded a copy of the hunting regulations and quickly reviewed them. When does bow season start? How about firearms?
Scout It Out
I didn’t find many suitable areas in my county. Too much competition from other hunters and the WMAs were too small. So, I expanded my search to the surrounding counties. I ended up with five possibilities.
Then came the enjoyable part. I put on my boots, updated my hunting app on my smartphone, grabbed my topographic map, and explored each one, looking for key factors that would help my hunt:
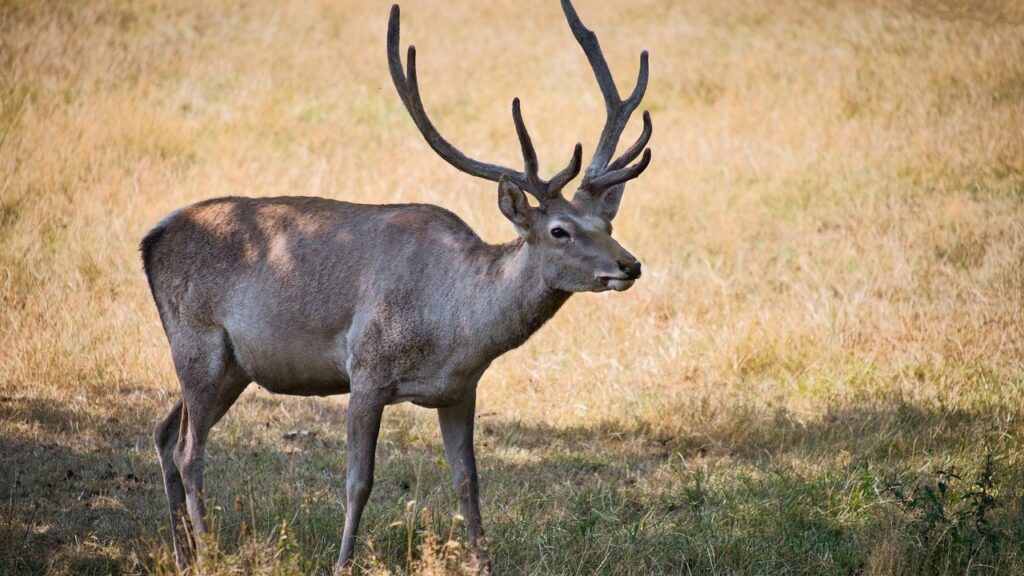
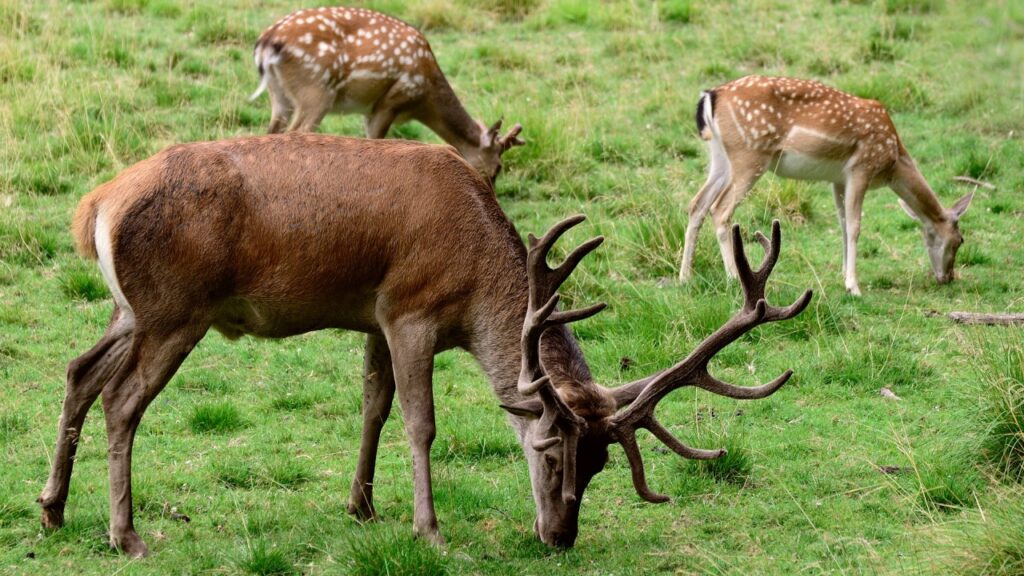
- Are there destination food sources? The Deer like ground adjacent to cornfields or in the big woods, where there have been recent cuts, opening up the canopy.
- Is there water? Whitetails gravitate toward the water and land with moving water usually offers prime cover as well.
- Where is the prevailing wind and how can I use the ground cover appropriately?
As I explored each area, I checked in with my gut. If I felt excitement and knew “this is the place”, that’s when I installed the best trail camera under 200 to track deer movement. If not, I left the area and moved on to the next on my list.
Pro Tip: I always charge my phone while driving to my destination so I know I’ll have a 100% battery charge as I enter the woods.
Here is a video on how to read a topographic map, looking for these types of features:
Look for Funnels and Scrapes
A funnel is where the topography changes to a narrow path that forces the deer into a small area. A saddle is a low point in a ridgeline, also forcing the deer into a smaller area. I also look for scrapes, bedding areas, and travel paths.
Once I’ve narrowed my public land search down to two or three areas, I continue exploring them throughout the summer. Each time I visit I got more familiar with the environment. I imagine approaching the area like it was hunting day. Where will I hike in? Where is the best ground cover? What approach will I take to slip into this spot unobserved? Where will I set up a blind or, if allowed, a tree or a box stand?
Here is a video on how to look for scrapes:
I try to visit at sunrise or sunset (when I’ll be doing my real hunting) and sit and watch patiently. On those days I pay attention and reduce my scent as much as possible, just like I do when hunting. I pick out the best spot and sit, watch, and listen.
The land and animals tell me a lot. What they tell me, during my summer explorations, will certainly help me bag that buck this fall.
I hope you found my strategies on how to find a good hunting spot on public land useful. Enjoy yourself out in the woods and be safe.
Last Updated on April 15, 2025 by Marty Prokop