A ladder stand is one of the key equipment in deer hunting. It might have crossed your mind to buy a readymade ladder stand. But think again. Building your own ladder stand will not only save you money but also give you the chance to customize it as per your strategy. But you must know how to build a ladder stand for deer hunting.
If you are planning a DIY ladder stand, then this guide is for you.
Steps to Build a Ladder Stand for Deer Hunting
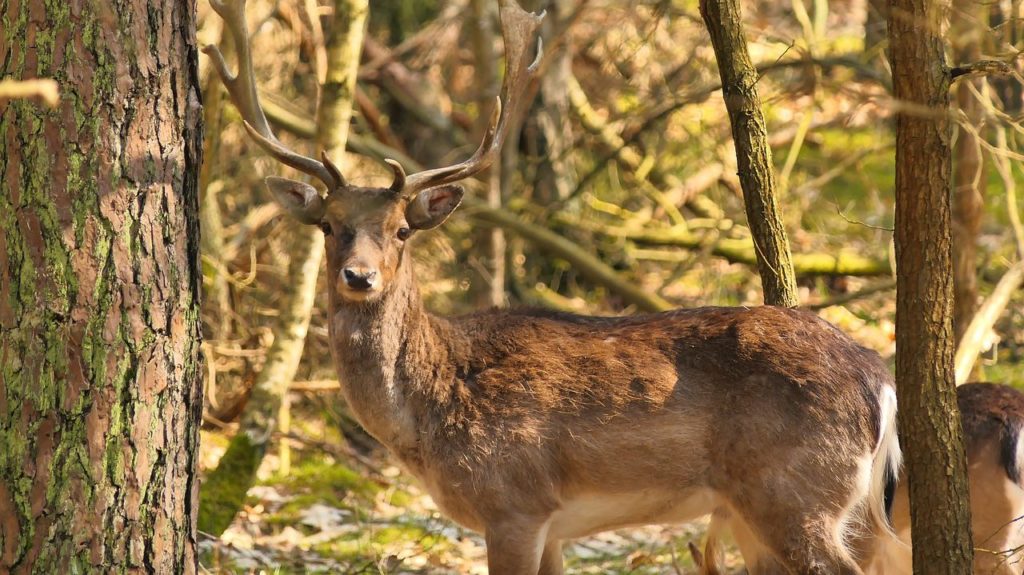
Ladder stands are not made for display. They play a crucial role in catching your prey. Ladder stands are like human nests up above that can help you see more deer during your hunting trip.
You want to make sure that you have a bird’s eye view of the place and your prey while hunting. It also gives you enough cover to stay undetected.
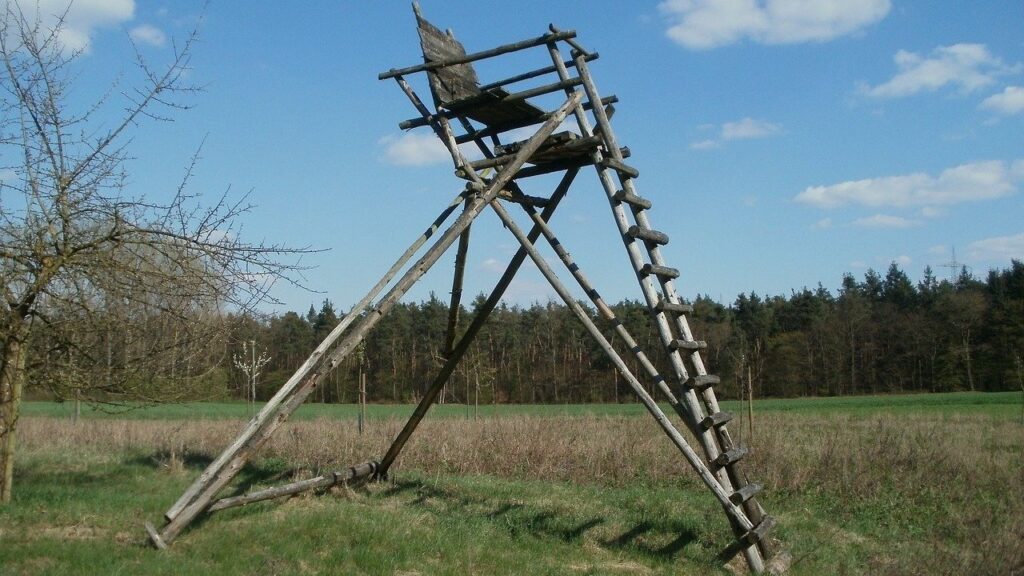
Climbing a tree and sitting on the branches is risky. But a ladder stand can give you comfort and safety while having a vantage point of your target and the area.
Follow the steps below to jumpstart your ladder stand project.
Step 1: Look for the Perfect Tree
Look for a tree that has a strategic angle for hunting. Pick a tree that is strong enough in supporting your weight as well as your equipment.
Make sure that it will give you enough cover to hide you from your target.
The recommended height of a tree for ladder stands is 17 to 20 feet. But you can choose depending on what is available and more strategic for you. If you plan to hunt deer with a shotgun, then keep the range of your gun in mind while deciding the height.
Step 2: Get the Materials
- Two 2 by 4 inches treated lumber or cedar beams with a length of 20 feet for the frame.
- Extra 2 by 4 inches treated lumber or cedar beams for the steps.
- A standing platform without any cracks, knots, or decay.
- 55 by 46 inches plywood for the seat.
- A Tape measure and a framing square.
- A hammer, a saw, a drill machine, screwdrivers, screws, and nails.
- Safety gloves, safety glasses, and a safety harness.
Step 3: Build the Ladder
- Lay the two 2×4 inches beams next to each other. You have to make sure that the two-inch thickness is facing up, and that both the beams are of the same measurement.
- Once the frame is ready, you can now cut the extra 2×4 inches beams to make the steps for the ladder. Cut the beams into 14 pieces with a measurement of two feet per piece.
- Place the 14 steps on the frame in a way that each step is 20 inches apart. Check if the steps are aligned. After that, you can attach the steps on the frame using the screwdriver and screws.
Step 4: Build the Seat
- Go to the tree that you have picked. Choose two strong branches that are parallel to each other.
- Make use of the extra wood beams and cut two pieces of wood that measure 2.5 feet in length. Nail both of the 2.5 feet of wood to the two parallel branches. The measurement of how far apart the two wood beams are depends on how wide you want your seat to be. Use the hammer and nails to attach to the branches.
- For the main seat, cut the plywood depending on how wide you want your seat to be. Using the hammer, nail the plywood to the two 2.5 wood beams attached to the branches. For more support, add two diagonal wood beams under the plywood seat and nail them to the two parallel branches.
Step 5: Connect the Seat to the Ladder
- Cut the extra wood beams, as per the measurement of the highest ladder step and the space under the seat.
- Cut another set of wood beams for the stand platform below your tree seat. Nail it to the branch or the trunk below your tree seat.
- Position the extra wood beam perpendicular to the ladder steps. Connect it to the stand platform you have made and attach it using the screwdriver and screws.
Step 6: Test it Out
- Once you complete all the steps above, proceed by testing it out. For safety measures, make sure that you try it out while using a safety harness. Check that the ladder, ladder steps, stand platform, and tree seat can support your weight together with your hunting equipment.
Are you now sure that it is safe and sturdy? If yes, then congratulations! You unlocked another DIY achievement and built a ladder stand with your hard work!
Bonus Tips!
- Invest in a safety harness. Better to spend a little more for your own safety. You are never sure of the different scenarios that you may face while deer hunting. Choose a dependable and durable harness that can save you when you fall.
- Always check if your tree is in good shape. Due to the changing weather, you have to check if it is still strong and sturdy. Be sure to secure the screws and nails. Some nails and screws may unhinge with the passage of time.
- Research for food sources and trail locations around the area where you are planning to hunt. Make sure that you are hunting the deer that you wanted. If you have the resources, you can use the best trail camera under $200 to track deer.
Conclusion
Hope this guide has helped you learn How to Build a Ladder Stand for Deer Hunting. Building a ladder stand of your own can give you a real sense of achievement. You have built something out of scratch.
Nothing beats the adrenaline and the thrill of deer hunting. To make sure you have a bountiful hunt, you must have a strategic game plan and all necessary equipment. Keep in mind that in everything you make, safety lies in your own hands. Be mindful of the potential risks while doing things on your own. Never compromise on safety.
Last Updated on April 15, 2025 by Marty Prokop